
Building a motion rig for Sim-racing
What is Sim-racing?
Sim-racing is short for “simulated racing”. Basically it means you are using racing simulator software to try and simulate real world racing as accurately as possible. This includes all the real-world variables such as fuel usage, damage to the car, tire wear, grip, suspension settings, etc., which is unlike the more well-known arcade racing games like Forza Motorsport or Gran Turismo. The goal is to provide the most realistic depiction of real world racing as much as possible. Sim-racing software on PC is often times accompanied by special purpose hardware, like steering wheels, pedals, “rigs” with bucket seats, triple-screen monitor setups or Virtual Reality headsets, bass-shakers, etc.
The most common sim-racing titles are:
iRacing
To quote from iRacings website:
iRacing is the leading sim-racing game for your PC. Developed as a centralized racing and competition service, iRacing organizes, hosts and officiates online racing on virtual tracks all around the world. In the fast-paced world of eSports, iRacing is a one-stop-shop for online racing. We utilize the latest technologies to recreate our ever-expanding lineup of famed race cars and tracks from the comfort of your home. Simulate what a professional NASCAR driver experiences inside the seat of a stock car, or a Grand Prix driver sees over the dash. All of the details add up to a lineup of cars and tracks that are virtually indistinguishable from the real thing. This creates unmatched immersion when sim racers take the green flag in our online racing simulator. Although iRacing is an online racing simulator at heart, the value as a training tool is just as real. The best sim racers in the world compete on iRacing and you can watch the race broadcasts live on the iRacing eSports Network.
iRacing is probably my favourite out of all the sim-racing software out there, thanks to its fantastic online component. It is entirely focused on competitive online racing in various championship series and leagues. One of the many great things about it is that due to its simulation accuracy it very popular especially among racing enthusiasts and also attracts a lot of actual real world drivers to the service. It is not uncommon to see the likes of Max Verstappen or Lando Norris appearing in these races, both of them being fans of iRacing.
And a motion rig?
In order to properly enjoy sim-racing you should have a “rig”, that is to say some kind of sim-racing cockpit with a frame made out of wood, steel or aluminum. To this rig you then attach a bucket seat to sit in, a direct drive servo motor powered steering wheel, high quality throttle and brake pedals, bass-shakers, screens, etc.
But what if you want to take it to the next level? A motion rig!
I wanted my rig to actually move and simulate the road texture, bumps, curbs and G-forces (as best it could anyway). To do that you need to somehow equip your rig / platform with motion capability. The only problem with this is that pre-made, ready-to-use commercial products of motions rigs cost a lot of money, usually in the tens of thousands of dollars. I was absolutely not prepared to pay such an outrageous amount to get what I wanted.
Enter the OpenSFX100
Luckily for me I wasn’t the only one dissatisfied with this lack of cheaper options on the market when it comes to motion rigs. Just as I was about to give up on my dream I discovered that somebody had designed and released plans for a complete Do-It-Yourself motion rig built out of as much off-the-shelf parts as possible and some additional ones that require 3D-printing: https://opensfx.com/
Originally that website didn’t exist back then, the project was only released so far on GitHub back then: https://github.com/SimFeedback/SimFeedback-AC-Servo
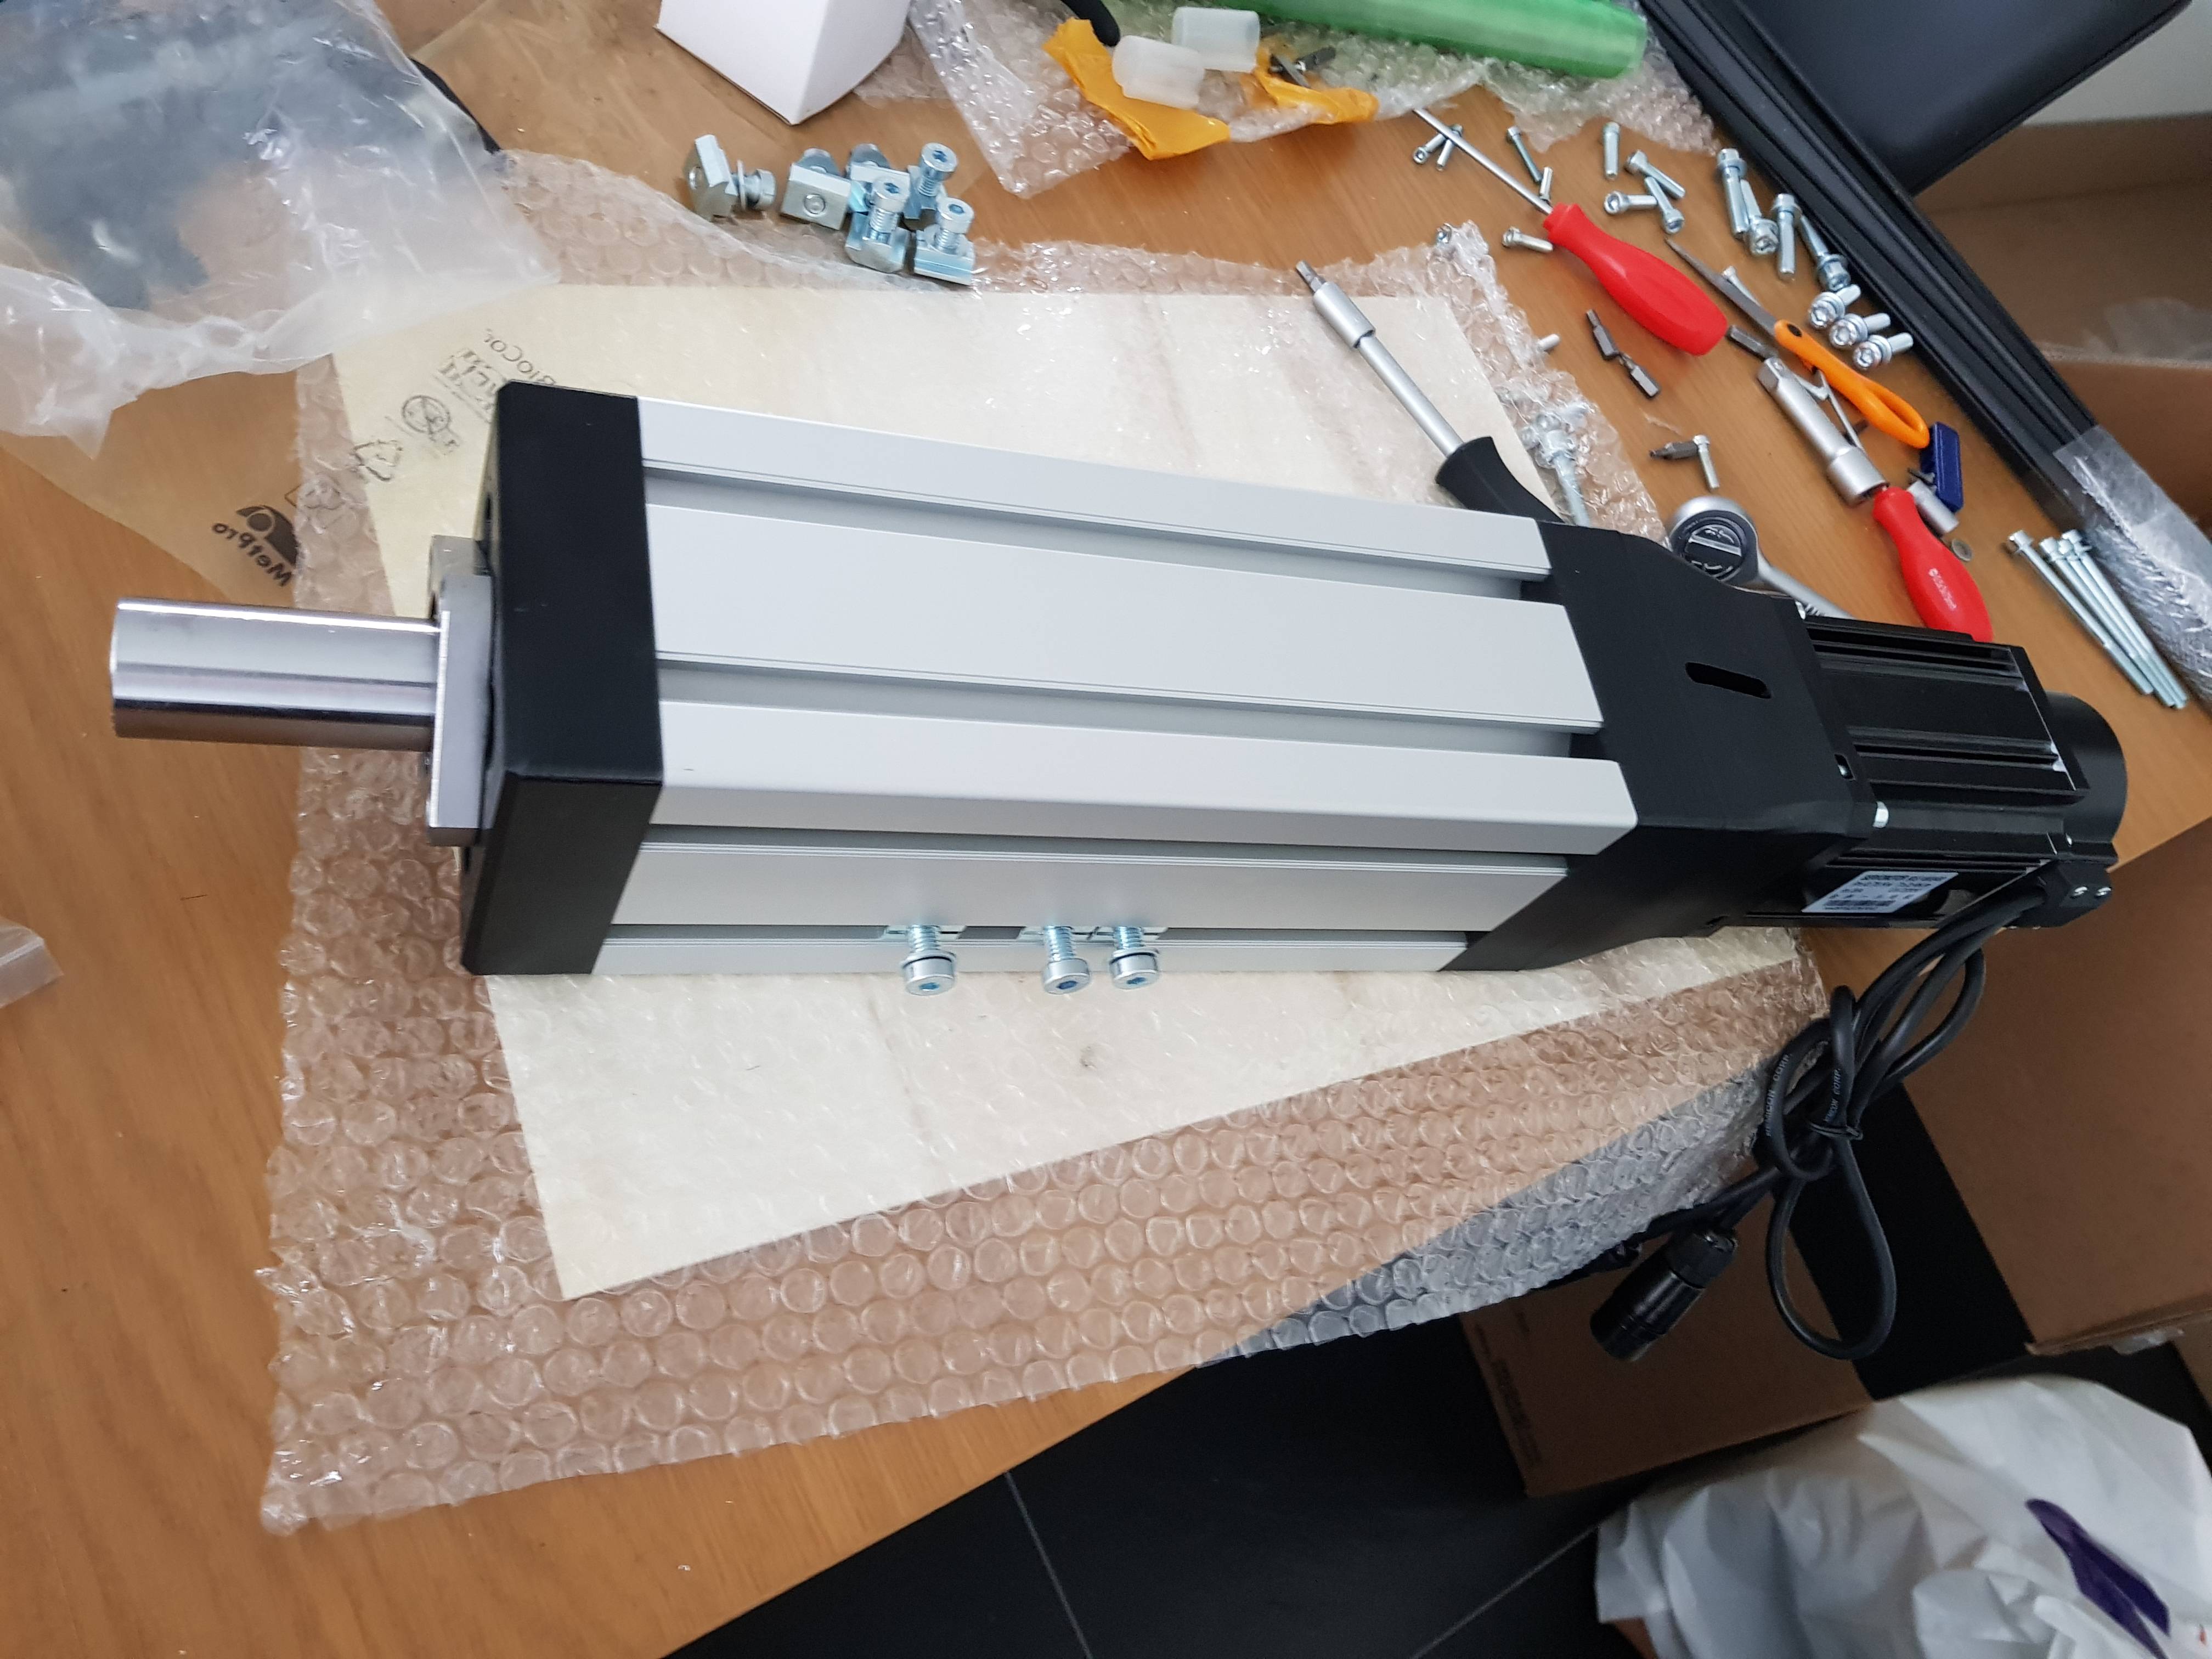
The GitHub project includes everything necessary to build your own DIY motion platform, consisting of 4 actuators, 4 servos/controller boxes, and Arduino controlling those and software to feed instructions to the Arduino based on iRacing telemetry data while you’re driving.
A complete shopping list of all the parts needed to build your own SFX-100 actuators can be found here: https://github.com/SimFeedback/SimFeedback-AC-Servo/wiki/Shopping-List
And the assembly instructions are here: https://github.com/SimFeedback/SimFeedback-AC-Servo/wiki/Actuator 😀
It also requires various parts being 3D-printed, something I’ve never done before. After a bit of research it seemed that getting a Prusa MK3 was a good choice for a high quality hobby printer that a newbie like could handle but also is capabable of more advanced stuff should it be necessary. It only took a few weeks of pretty much running the printer 24x7 to print all the parts needed.
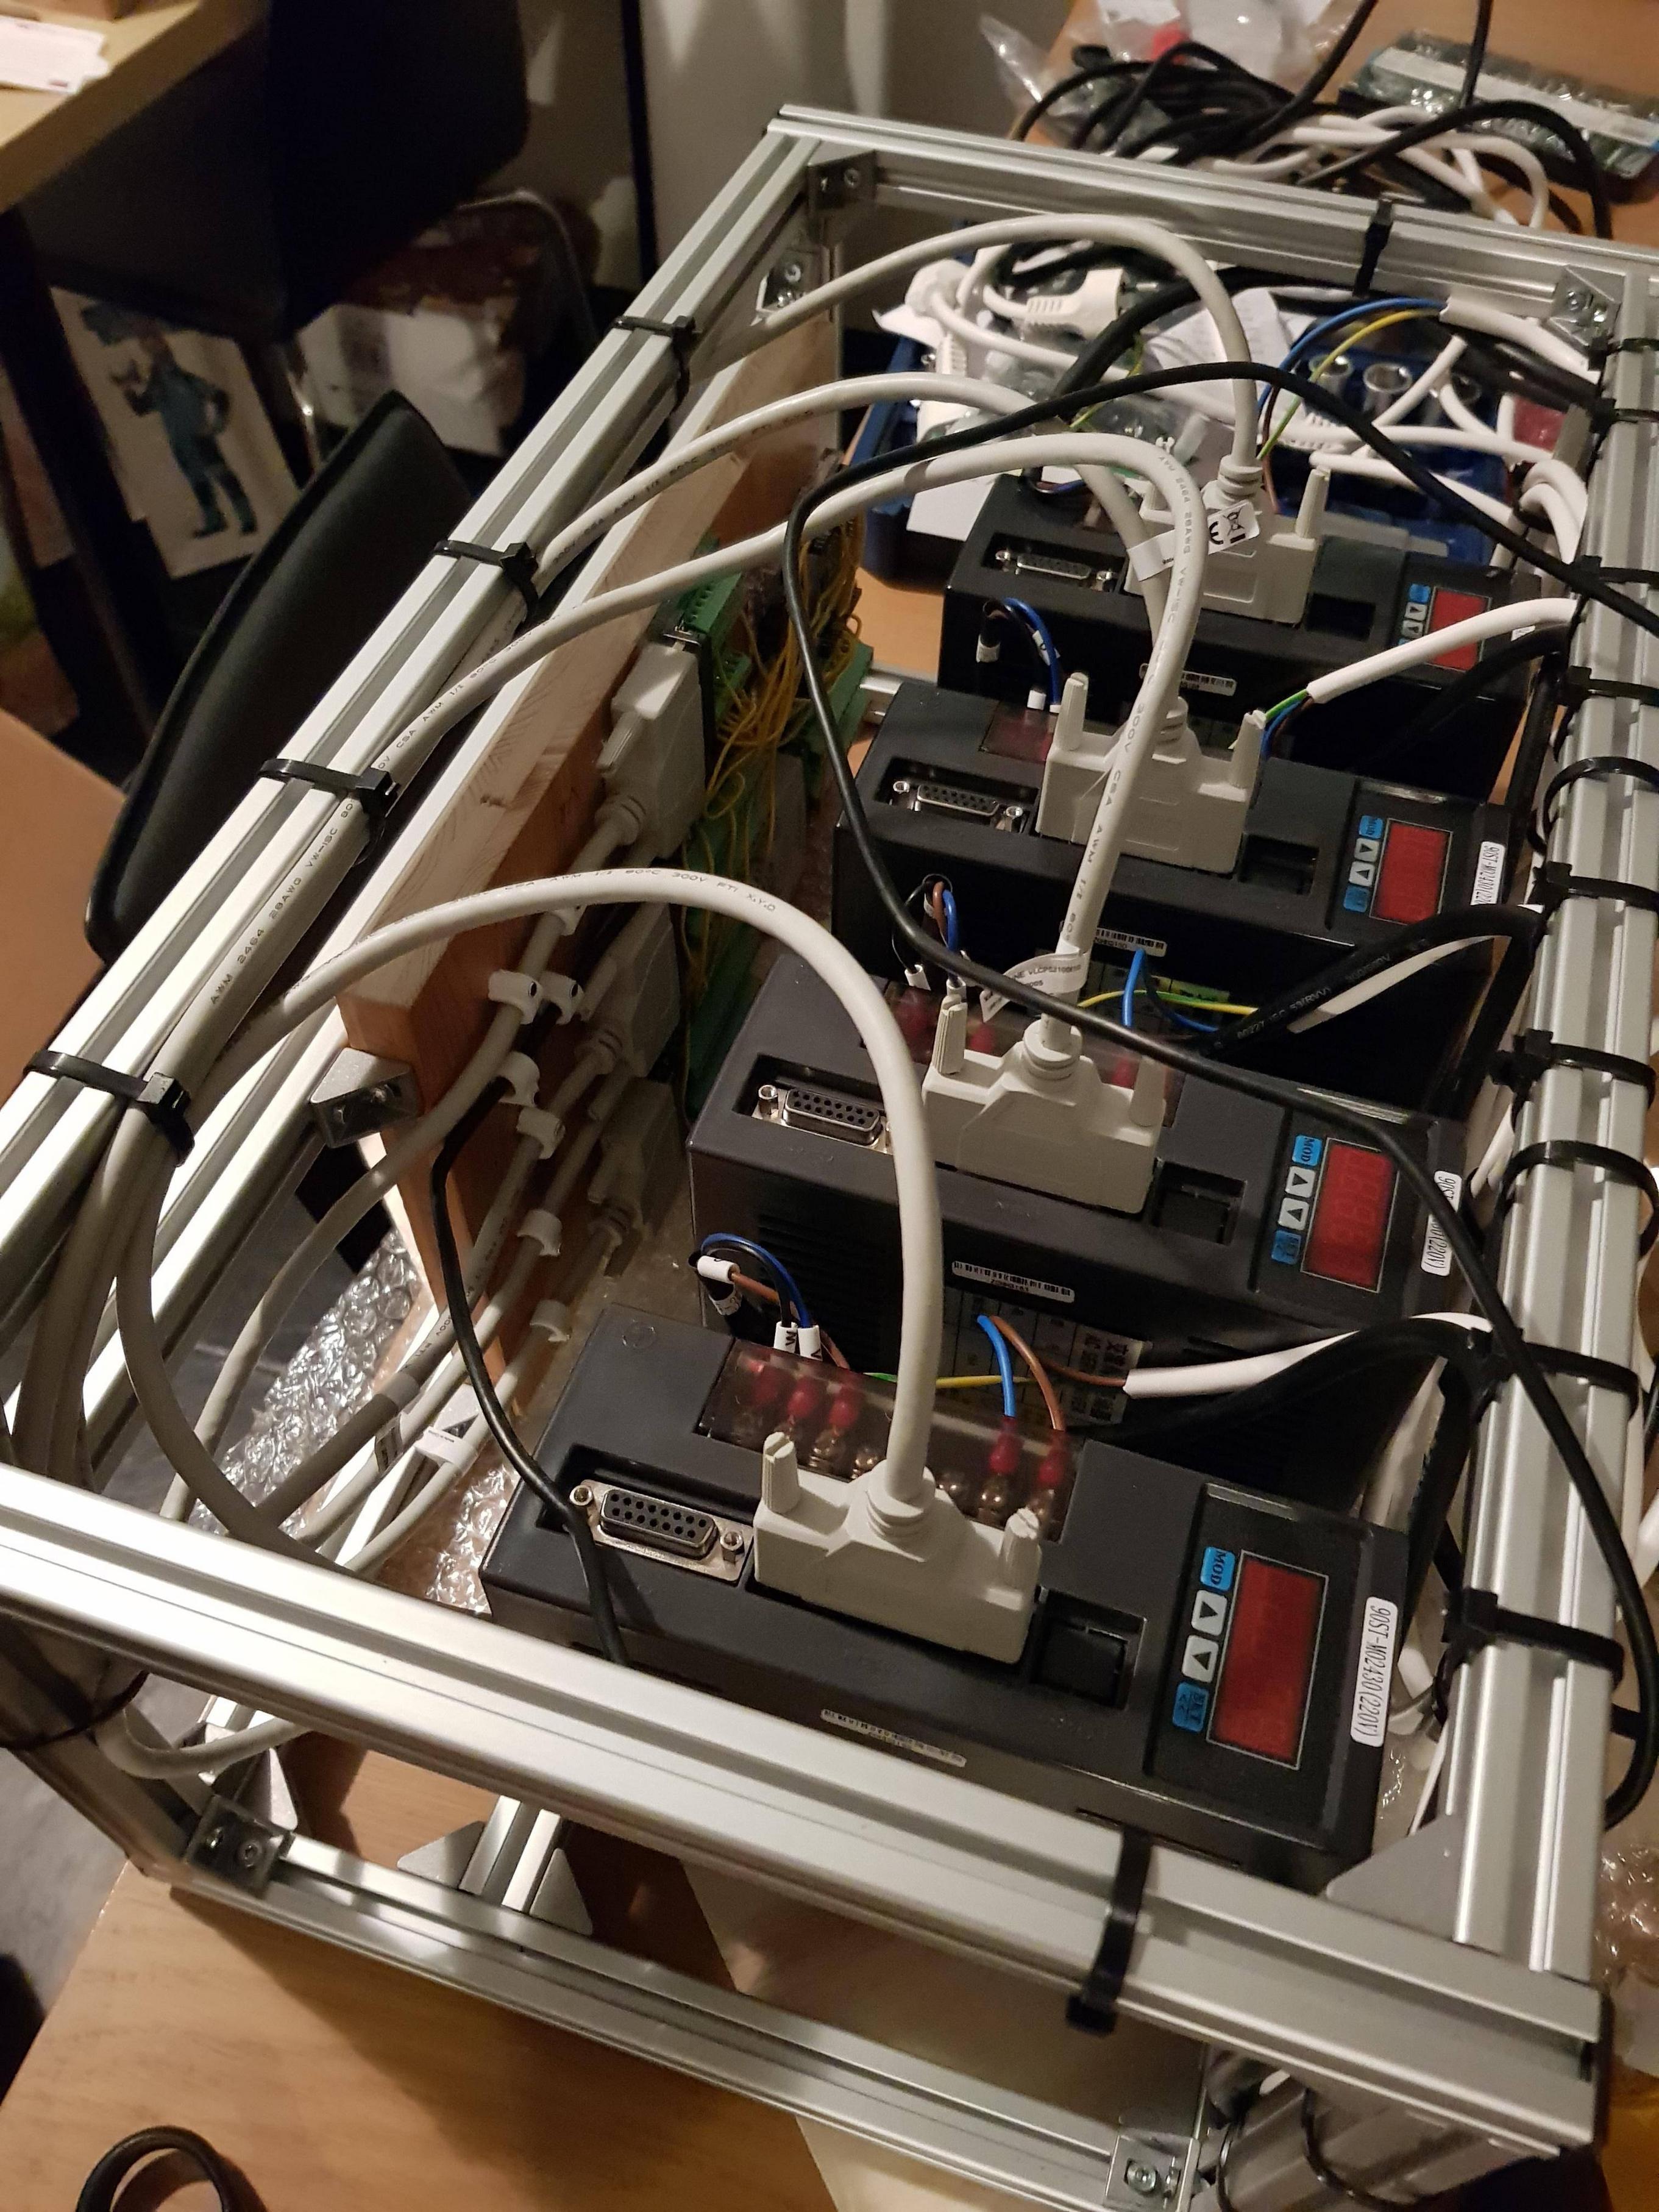
After assembling all 4 actuators I needed build the controller unit for all 4 servos. The instructions on how to piece together the electronics for the Arduino can be found here: https://github.com/SimFeedback/SimFeedback-AC-Servo/wiki/Electronics
I built myself a rather ugly box to house all the electronics, but hey, it works! 🤷♂️
I also needed a new rig / base platform to mount everything, my old rig wasn’t going to cut it anymore. It needed to be rock-solid and super stable to be able to handle the load and strain put on it by having it moving around. In the end instead of buying a pre-made rig from Sim-Lab like my old one, I decide I could probably also design one myself entirely from scratch. After a bit of learning-by-doing I ended up with this here by using SketchUp: https://github.com/JamesClonk/simracing-rig
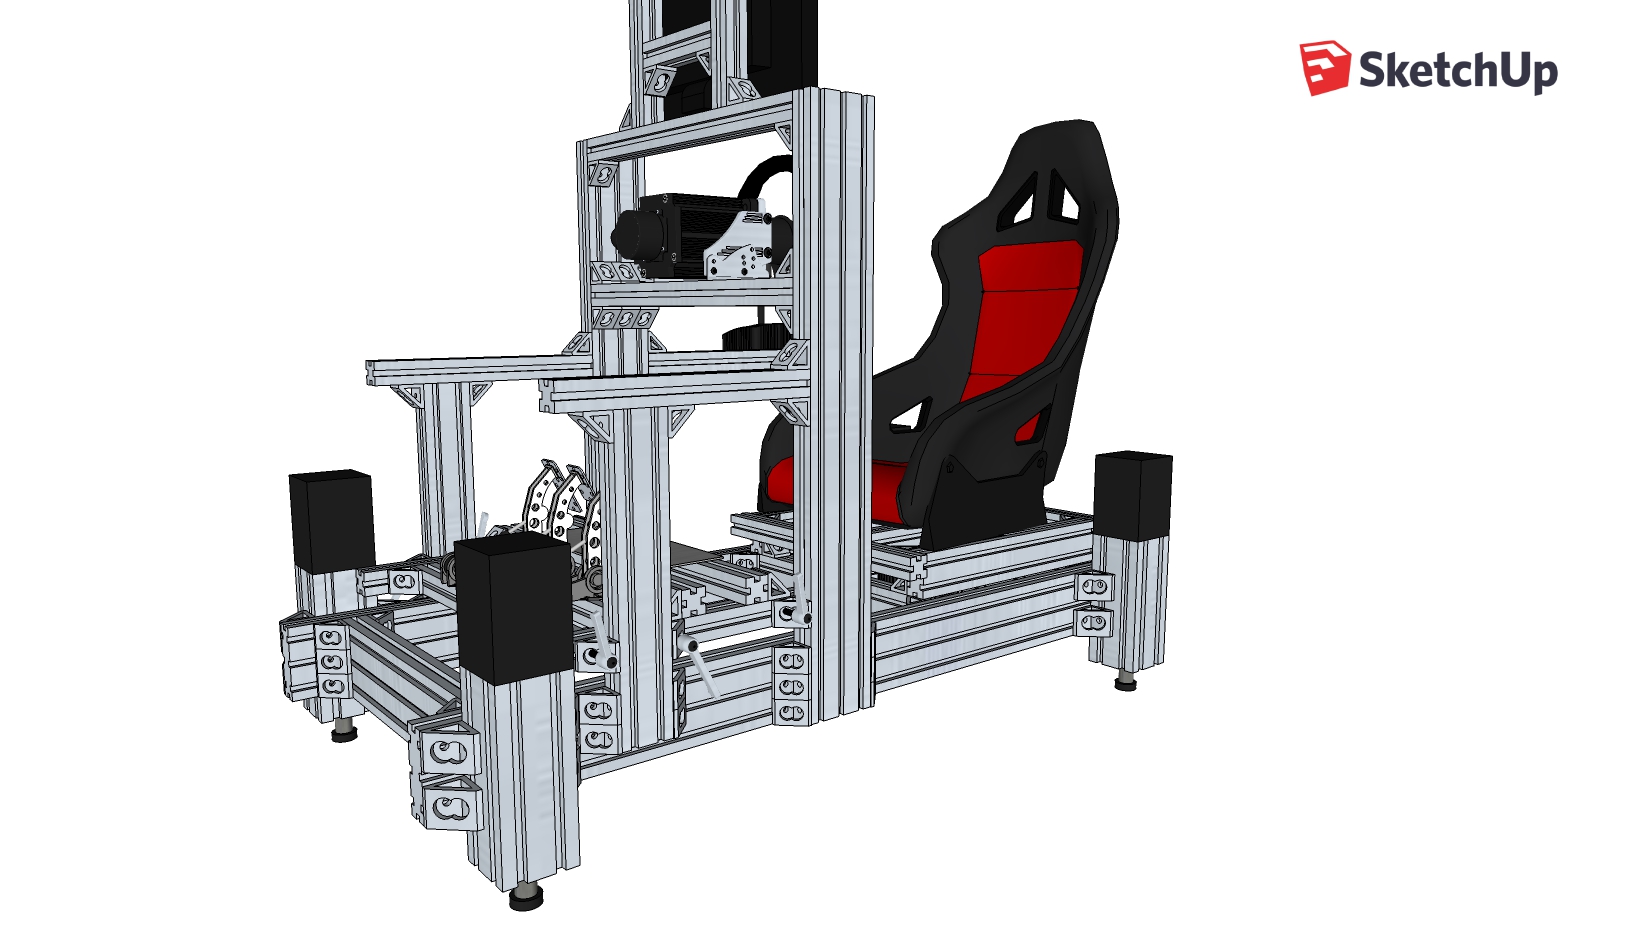
Looks pretty good, at last in theory so far. Next step was ordering all the necessary aluminum profiles from Motedis and building the rig.
After that it was time to attach the wheel, actuators, bucket seat, pedals, bass-shakers, etc.. Resulting in this:
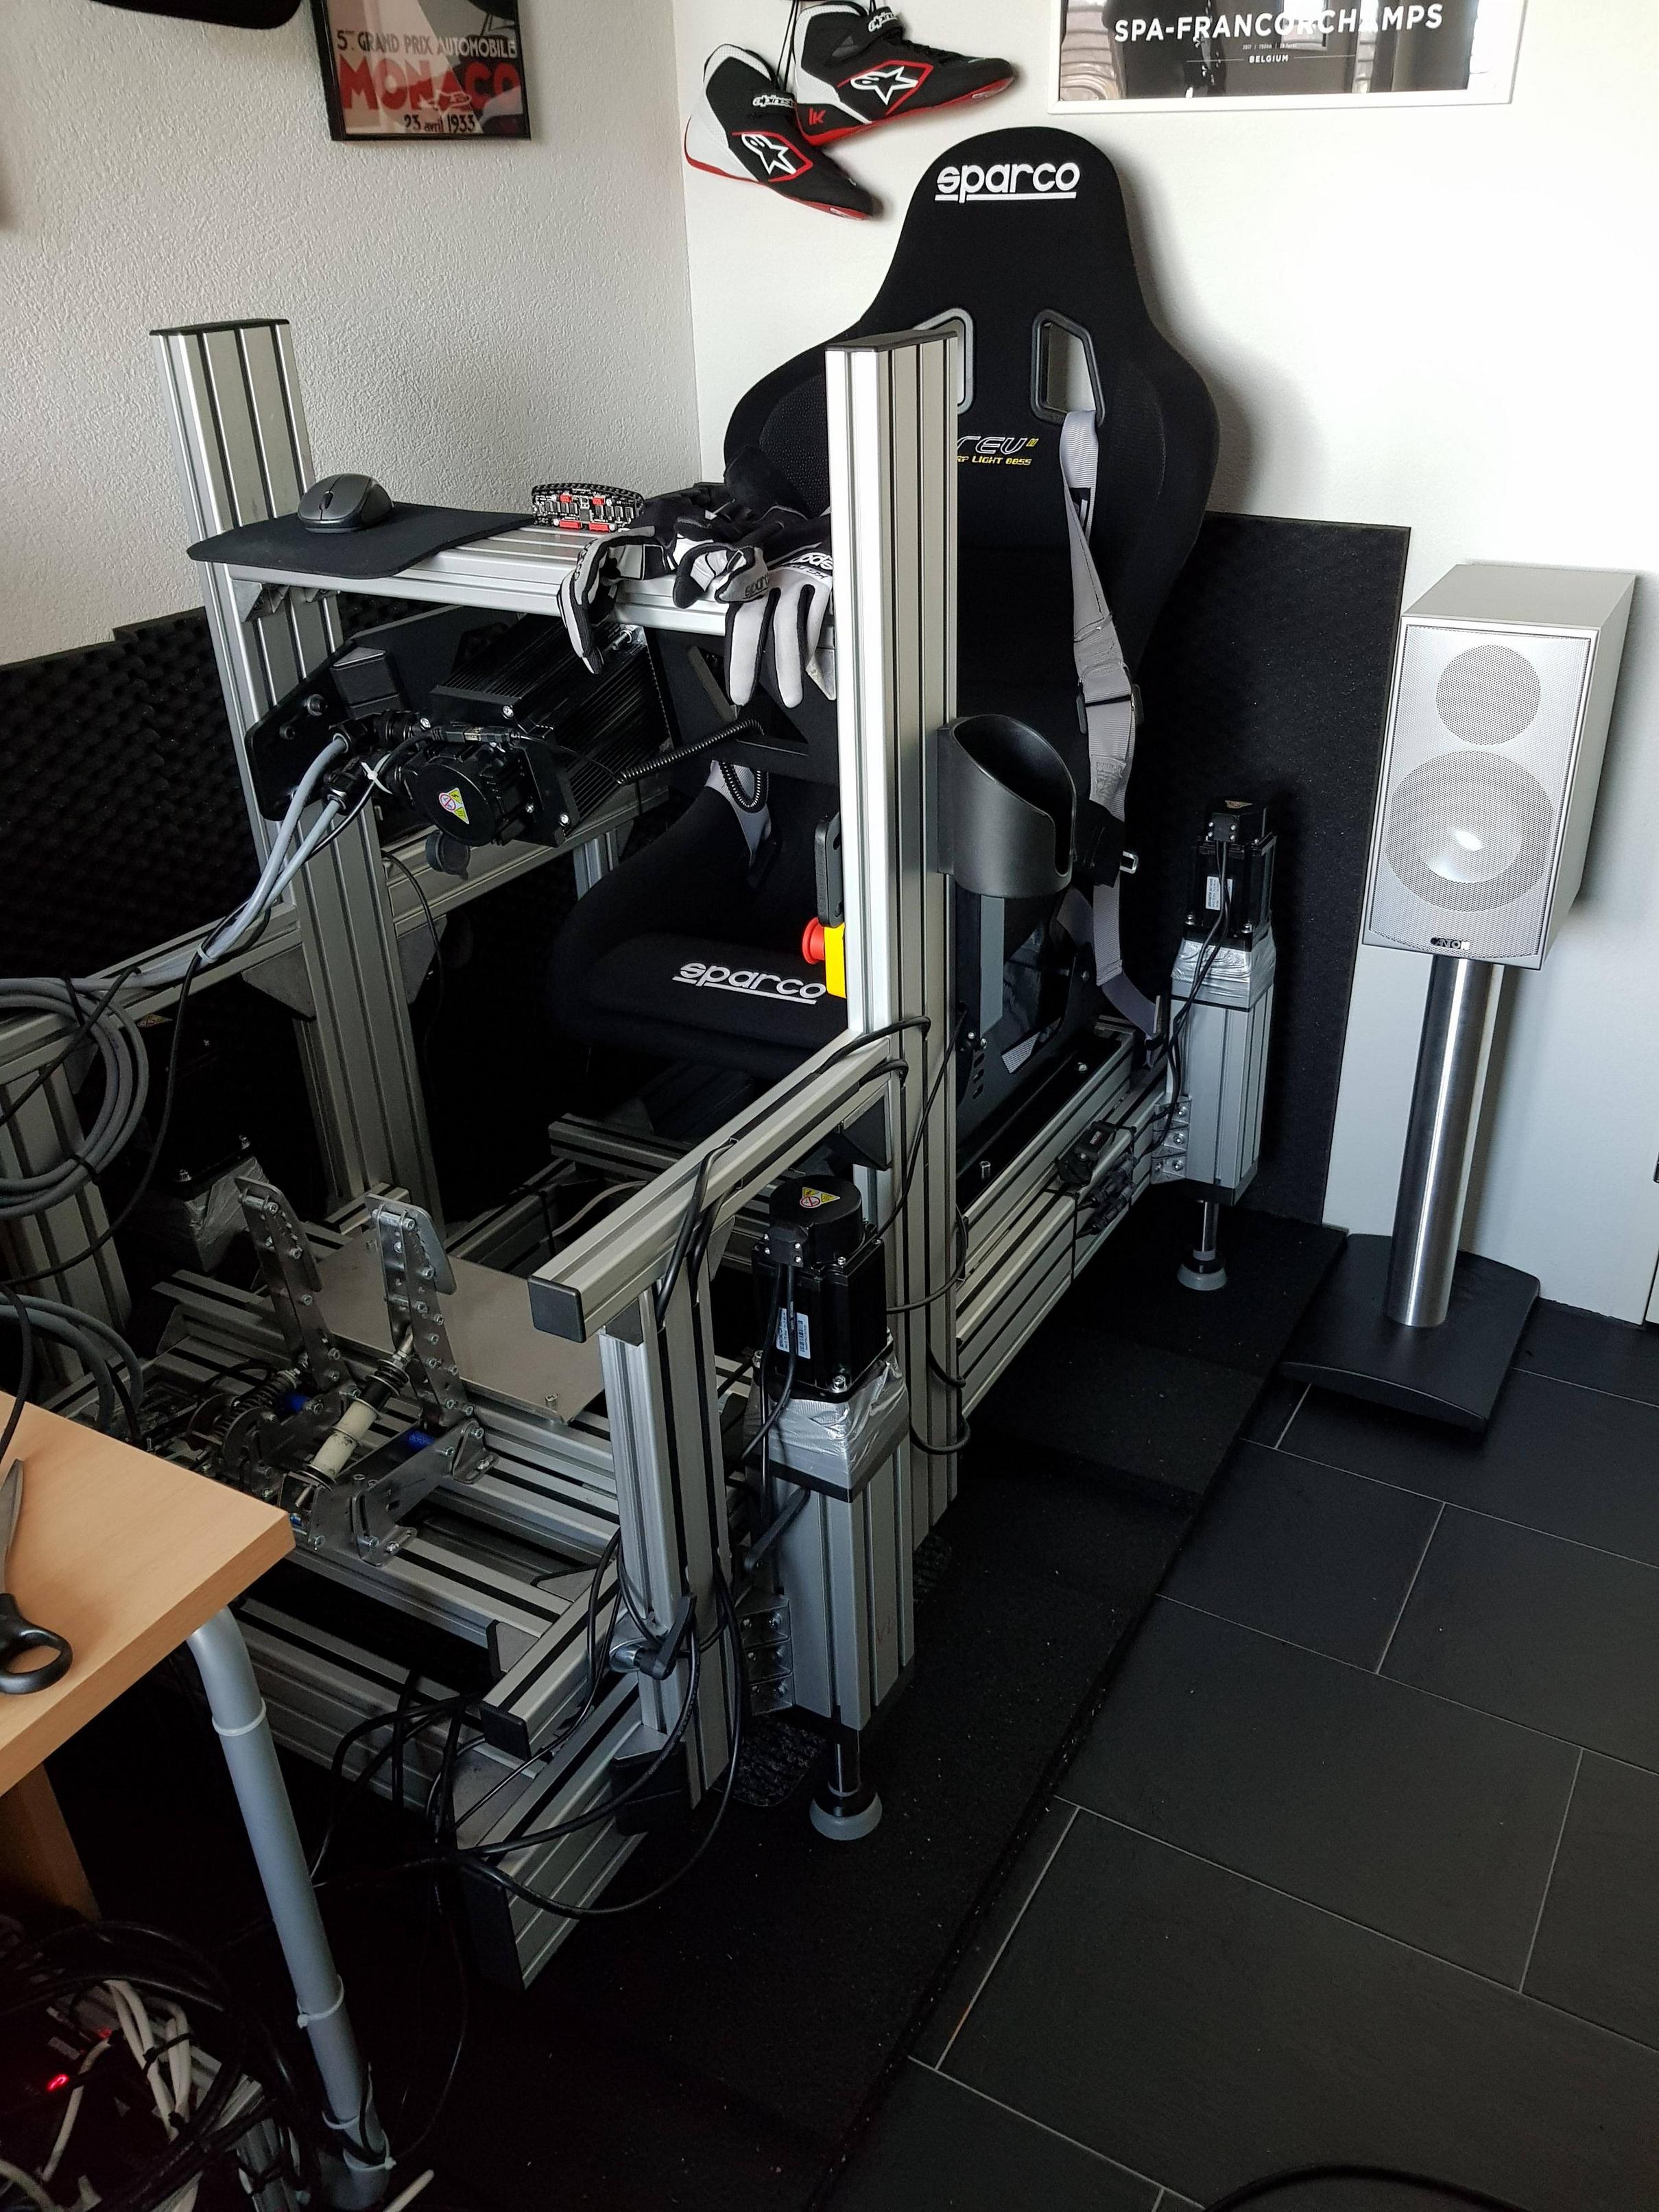 🤩
🤩
Check out this picture album of my whole journey in building this rig: https://github.com/JamesClonk/simracing-rig/blob/master/images/building/motion_rig.md 😂
SimFeedback
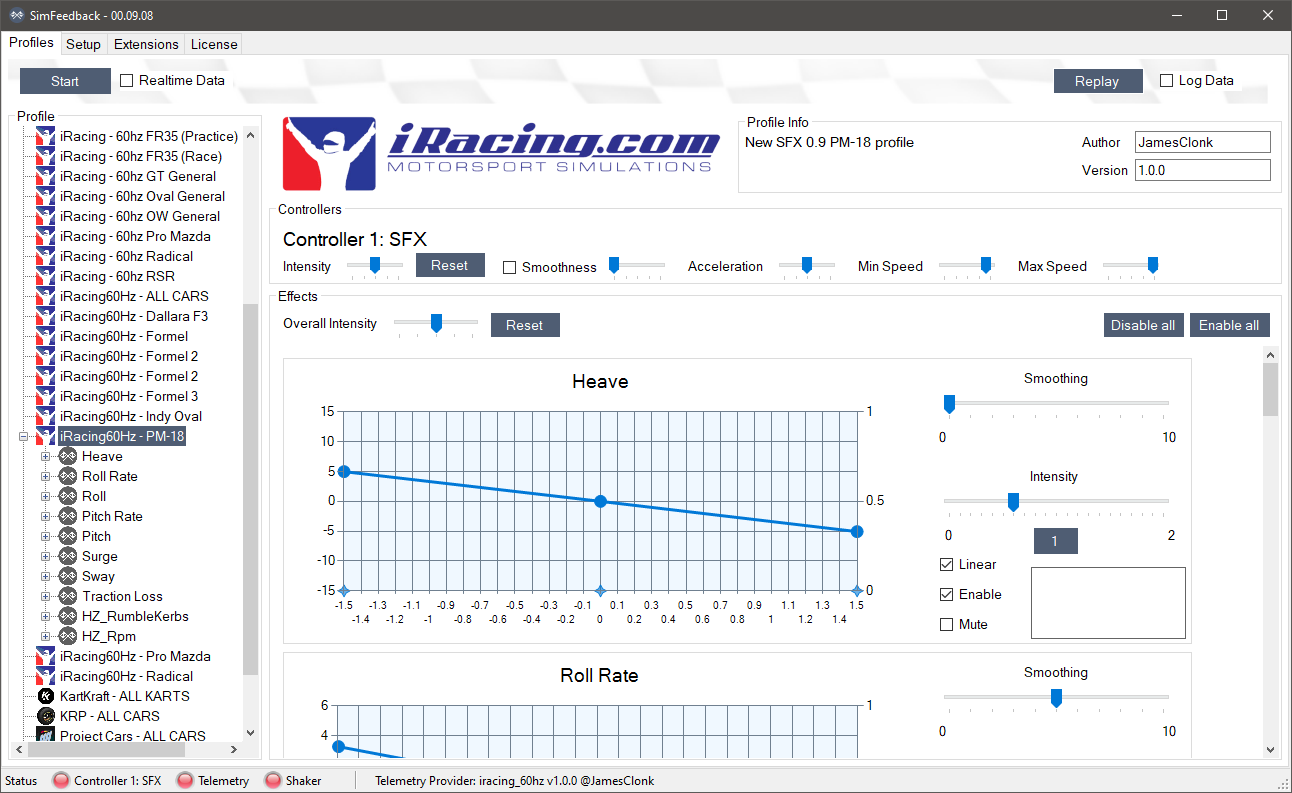
The software used to control the servos and motors is called SimFeedback, written by the same person who open-sourced the OpenSFX100 plans in the first place.
Telemetry data is not working?
Oh no, what’s wrong?!
After I finally got everything up and running I discovered a major problem. You see, iRacing has two different output modes for telemetry data. It is a memory-mapped file that provides data in either 60hz mode (the default) or in an increased 360hz mode (providing more accurate, albeit somewhat interpolated data). The problem I discovered though was that the majority of my software that I already was using to read telemetry data and do useful things with it, like simulating wind / air flow via Arduino-controlled fans or control bass-shakers to simulate vibrations and road texture, was operating in 60hz mode only. The iRacing plugin provided by SimFeedback on the other hand was expecting 360hz telemetry input and you can only use either one of these modes in iRacing, not both at the same time! 😱
Good thing I know my way around software a bit, more or less anyway. It was time to dig into the source code of SimFeedback or rather its plugin interface. Having never before worked with C# this turned out to be quite the adventure, having to learn my way around an entirely new language just for the sake of writing a 60hz telemetry plugin for myself might sound a bit like overkill. 😂
In the end though I figured out what was needed and managed to create the iR60 Telemetry Provider plugin and put it on GitHub to let everybody else profit from my work too. (As it turns out a lot of people use 60hz mode given that it’s iRacings default)
Now I could finally hook up all my gadgets and get back to actual racing on track.
The result
Here you can see the final thing in action: